03: Using JARs
Estimated reading time: 10 minutes
Estimated time to complete: 20 minutes
Prerequisites: Lab 02
Collaboration: permitted
Libraries: processing-core-3.2.1.jar
One of the reasons the department uses Java as a language of instruction is its ubiquity. The widespread use of Java in the world means that lots of great code has already been written and is available for you to use. This code is often distributed in “Java Archives” (or “JARs”) which are a specialized format of the ZIP file, containing compiled .class files and (optionally) source .java files and other resources. By the end of this lab, you’ll have some experience in configuring a Java project to use a third-party JAR.
Overview
In this lab, you’ll create a new project in Eclipse. You’ll add a third-party JAR to this project, then write a few short methods that use the code in that JAR.
Goals
- Import a JAR into a Java project in Eclipse.
- Use classes from the imported JAR.
- (optional) Read about and use a third-party API to extend an application.
Creating a new project in Eclipse
In Lab 02, you walked through a tutorial to create a “Hello, World!” project.
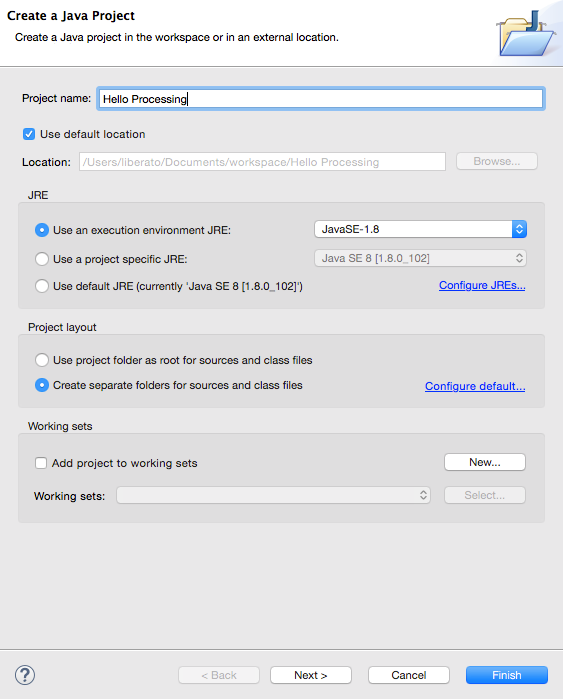
In this lab, I want you to create a project called “Hello Processing”. As a reminder, go to the “File” menu, then “New”, then “Java Project”. Name the project “Hello Processing” then hit “Finish”, accepting the defaults.
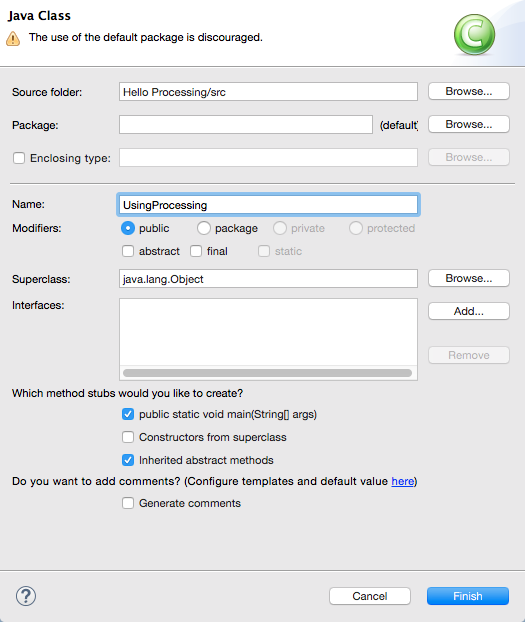
Now, create a new class called “UsingProcessing”. Either go the “File” menu, or right-click on the “Hello Processing” project in the Package Explorer. Then select “New”, then “Class”.
Make sure that the “Source folder” is “Hello Processing/src” and that the name is “UsingProcessing”. For this class, also have Eclipse create the main method for you, by clicking the “public static void main(String[] args)” checkbox under “Which method stubs would you like to create?”
You should now have a class with the following contents:
public class UsingProcessing {

    public static void main(String[] args) {
        // TODO Auto-generated method stub

    }

}
Adding a JAR
At the top of this lab is a link to a third-party JAR, “processing-core-3.2.1.jar”. This JAR is part of the Processing system, a “flexible software sketchbook and a language for learning how to code within the context of the visual arts” which is implemented in Java. Since we’re programmers, we’re going to use the JAR directly rather than through the Processing front-end. The code is provided under a well-known open-source license, the LGPL, which means we can use it without paying for it and without any particularly arduous conditions. (See https://en.wikipedia.org/wiki/GNU_Lesser_General_Public_License if you want more details about the LGPL.)
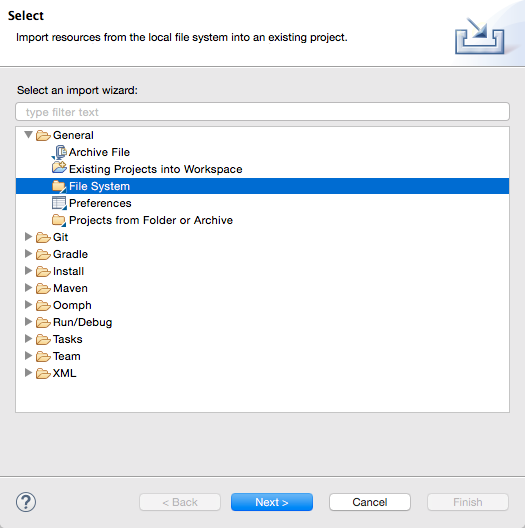
Anyway, download the jar linked to at the top of this lab. Then, within Eclipse, select “File”, then “Import…” then select “File System” under “General”.
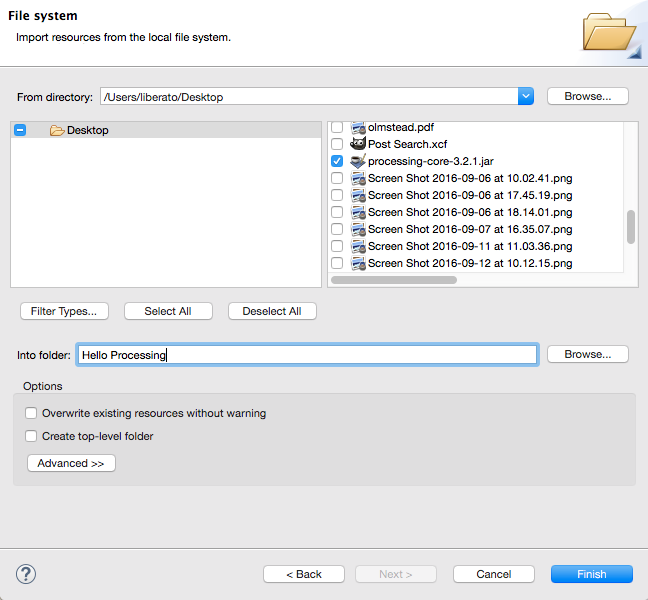
Click the “Browse…” button next to “From directory:”, locate the directory where you downloaded the file, and select it. Make sure you are importing “Into:” your “Hello Processing” project, then click Finish.
The JAR should now be visible in the project explorer.
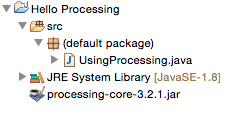
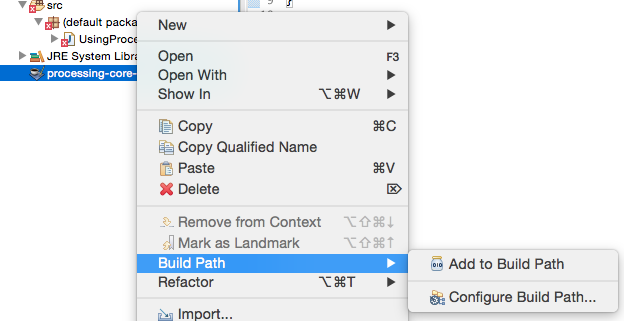
You’ve copied it into the project’s directory (you could have done this with the Windows Explorer or the OS X Finder, too.), and there’s one thing left to do. Right-click on the JAR in the project explorer, select “Build Path”, then select “Add to Build Path”.
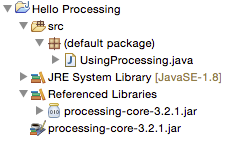
The JAR file should now show up under “Referenced Libraries” in the Project Explorer.
Getting Processing up and running
The code in the JAR won’t do anything unless we invoke it. Let’s start by modifying the class declaration to make UsingProcessing extend PApplet, a class that’s part of Processing:
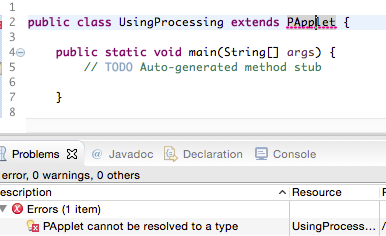
Note that Eclipse has found an error: PApplet cannot be resolved to a type. If you click on the red-underlined text PApplet, one of Eclipse’s suggested “quick fixes” should read “Import ‘PApplet’“. Select that, and your code should now be correct, and look like:
import processing.core.PApplet;

public class UsingProcessing extends PApplet {

    public static void main(String[] args) {
        // TODO Auto-generated method stub

    }

}
A word of warning: Eclipse’s various quick fixes are meant to be used when you understand what they mean. If you have errors you don’t understand, quick fixing your way to something that compiles might be feasible, but they’re unlikely to do the right thing all the time.
Finally, let’s replace the TODO with the minimal required code to start a Processing application. Replace the TODO comment with the line PApplet.main("UsingProcessing");. Your code should now read:
import processing.core.PApplet;

public class UsingProcessing extends PApplet {

    public static void main(String[] args) {
        PApplet.main("UsingProcessing");
    }

}
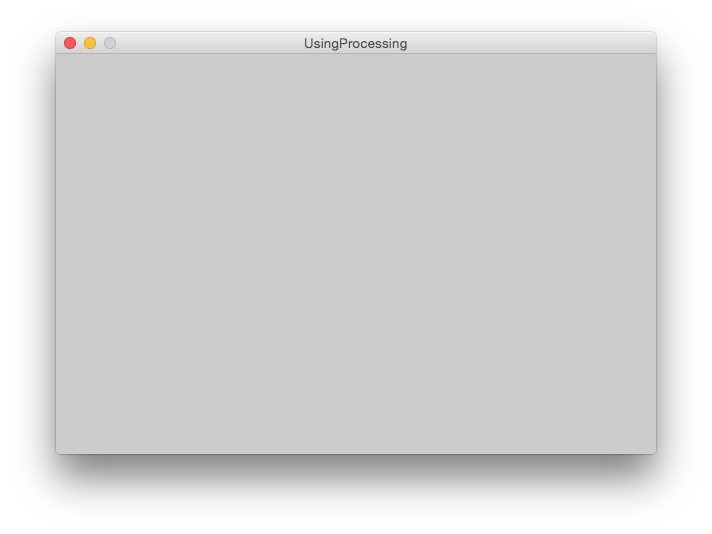
At this point you can run the application using the Eclipse “Run” item (or the equivalent button), and you’ll get the default Processing window: an empty 100x100 canvas.

Close that window. And a quick reminder: if you run the application more than once, you might end up with more than one window. The old ones do not automatically update with new code you write! Make sure you close the old ones, or you might get confused about why changes you make later in the lab aren’t showing up.
Doing a little bit more with Processing
Add four methods to the UsingProcessing class named settings, setup, draw, and keyPressed. Each should be a public void method that takes no parameters. Each of these is defined in a superclass, and we’re going to override their behavior to make your application do something. You can run your application again at this point to make sure there are no problems if you like; it should still create an empty 100x100 canvas.
Now, in the body of the settings method, choose a larger canvas size, for example, 600 x 400:
public void settings() {
  size(600, 400);
}
Run the application again and you’ll see the size of the canvas has increased. Feel free to pick any size you like.
An aside: Where does this size method come from? It’s inherited from PApplet, as are many other useful methods. On the Processing site there is a full reference available, as well as many tutorials and examples.
Let’s configure our application to let us draw with the mouse and erase with the keyboard. Modify the other methods as follows:
public void setup() {
  noStroke();
  background(255);
}

public void draw() {
  if (mousePressed) {
    fill(136, 28, 28);
  } else {
    noFill();
  }
  ellipse(mouseX, mouseY, 30, 30);
}

public void keyPressed() {
  if (key == ' ') { // this is a single space character
    background(255);
}
What’s going on here?
setupturns off the “stroke”; when drawing geometric shapes in Processing, each shape has an outline (called a stroke) and an inside (called a “fill”). It also sets the canvas to be white.drawchecks an instance variable inherited fromPAppletthat tells us if the mouse is being pressed. If so, the fill of the shape being drawn to UMass maroon (the three values here are the RGB (red, green, blue) values, each on a 0–255 scale; if you’ve done web development or used Photoshop or the like this is probably familiar to you). Otherwise the fill is turned off. Then an ellipse (circle) is drawn at the mouse’s location, with a width and height of 30 pixels.keyPressedis called once whenever a key is pressed, and it sets the canvas to be white only if the key was the spacebar.
Run the application again, and you’ll find you can now kinda-sorta paint with the mouse and clear the screen with the spacebar:
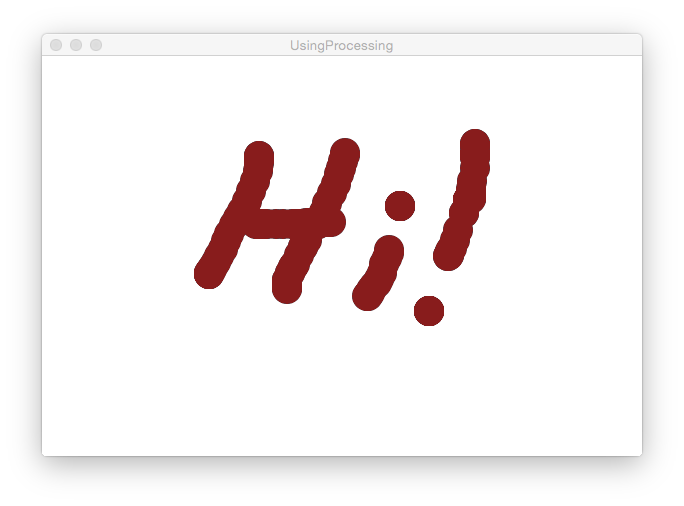
Holy cats! You just wrote MS-Paint!
What to submit
Feel free to toodle around with your application for a while. Maybe you’d like to make pressing the “r” key change the color randomly (check out the java.util.Random class and the nextInt method), maybe you can adjust the size or shape of the thing that’s drawn. Up to you.
When you’re done, take a screenshot of your byoooooo-tiful artwork and submit it using Gradescope.
![[pollock]](https://people.cs.umass.edu/~liberato/courses/2017-spring-compsci190d/images/labs/03-pollock.png)
Credits
This lab draws upon material from the Processing site, in particular the Processing in Eclipse and Getting Started tutorials.