Programming Assignment 07: Image Mosaic
Estimated reading time: 15 minutes
Estimated time to complete: two to three hours (plus debugging time)
Prerequisites: Assignment 05
Starter code: image-mosaic-student.zip
Collaboration: not permitted
A note
Portions of this assignment can be more memory (RAM) intensive than most we’ve done so far. This won’t be a problem on your local development environment, but may trigger problems in Gradescope if you do things in odd ways that your humble instructor did not anticipate.
If the tests fail on Gradescope, and you are certain your code passes all tests in Eclipse without infinite loops or exceptions, then let us know and we will take a look. If you “cry wolf” by submitting code with infinite loops or the like and then claiming it is a Gradescope problem, we will de-prioritize helping you over helping your fellow students.
Overview
Image mosaics (or photographic mosaics) are pictures that have been divided into tiles, and had each tiles replaced by a smaller picture of approximately the same color as in the tile in the original picture.
In this assignment, you’ll implement a simplified image mosaic generator. We’ve provided scaffolding code, but you’ll need to develop and debug a system for loading images as tiles, and for selecting tiles that match parts of an target image. We’ve provided the code that composites those image tiles based upon a target image.
We’ve provided a small set of unit tests to help with automated testing, as well as an example “driver” class with a main method. The Gradescope autograder includes a few more tests, but they exist primarily to verify you’re not gaming the autograder. If your code can pass the tests we’ve provided, it is likely correct.
Goals
- Translate written descriptions of behavior into code.
- Practice representing state in a class.
- Practice interacting with the
MapandListabstractions. - Test code using unit tests.
Downloading and importing the starter code
As in previous assignments, download and save (but do not decompress) the provided archive file containing the starter code. Then import it into Eclipse in the same way; you should end up with a image-mosaic-student project in the “Project Explorer”.
Top-down: Code walkthrough
This section describes how the code works overall; the next section (“Bottom-up”) describes what you have to do.
Start by taking a look at the MosaicDriver. The MosaicDriver draws an image mosaic based upon a target image and several tile images, and it depends upon the other two parts of the program (the Mosaic and the TileFactory). Let’s walk through it to give you a sense of what each component should be doing.
Note that this section describes the functionality of MosaicDriver.makeMosaic.
Palette selection
There are many ways you can create an image mosaic, but they all revolve around dividing a target image into tiles, then replacing those tiles with “matching” tiles from a source imate library based upon some attribute. Our code will use “hue” to find matching tiles.
Our code uses a single value to represent the color. The MosaicDriver has a very simple palette of just three colors, of red, green, and blue. The color is stored as a “packed RGB” value, with eight bits per color. You can use the included ImageUtils.hue method to convert an RGB color into a hue (as illustrated in Mosaic and the starter code in TileFactory).
See the relevant section of the Wikipedia article on RGB for more details if you’re curious. If you’ve ever done web editing and set colors manually, or used photo-editing software and seen RGB values, this is (one of) the ways they can be represented by a computer.
(We could have a bigger palette, or use a more advanced way to find matching tiles, but that’s not the focus of this assignment.)
Building the TileFactory
Next we instantiate the TileFactory. The TileFactory needs to know the palette, and it needs to know the tile width and height.
Once it’s instantiated, it is populated with tiles. Tiles are images that are loaded from disk, resized to the tile size, and then placed into lists, organized by hue.
Loading and mosaic-ing the target image
The MosaicDriver then loads the target image from disk into an instance of BufferedImage, and builds a Mosaic using the target image and the TileFactory. The Mosaic instance is responsible for breaking the target image into tiles, and replacing each tile with a tile from the TileFactory. Once it’s done so (in the buildMosaic method), that BufferedImage is drawn to the screen by MosaicDriver.
Bottom-up: What to do
If you run the MosaicDriver before making any changes, you’ll see it draws nothing. That’s because TileFactory is not complete; right now it just returns nulls rather than tiles.
Everything you need to do is in TileFactory. The rest of this writeup walks you through what you’ll need to do.
TileFactory, the palette, and tiles
First you’ll want to adjust how TileFactory stores the palette. You’re going to associate each hue (which is a property of a color, see: https://en.wikipedia.org/wiki/Hue) in the palette with one or more tile images. Right now, there’s an int[] array declared and initialized to hold the palette of hues, but it’s the wrong thing to do.
You should change the TileFactory to instead use a Map to hold the mappings from hues to lists of images. As you’ve seen in the MosaicDriver, images will be represented as instances of the class BufferedImage, so declare your map and initialize its key-value pairs appropriately. You’ll need to keep the use of ImageUtils.hue() to convert the input color (an integer) into a hue (also an integer).
Now look at addImage; you’ll see it already computes the average hue of an image for you, but it doesn’t do anything with that information. You’ll want to determine which hue in the palette is closest to the average hue of the image and insert the image into the corresponding list in your map.
How are you going to find the closest hue? Take a look at both of closestHue and hueDistance. The former will rely upon the latter (since “closest” relies upon a notion of distance), so let’s tackle it first. In our code a hue is a by default value between 0 and 255, but kind of like the numbers on a clock (1–12), hues “wrap around.” Your first instinct may be to use something like Math.abs(hue1 - hue2), which is close, not not quite right. Use the clock analogy to figure out the right mathematical expression. For example, in a 12-hour clock, the difference between 11 o’clock and 3 o’clock is four hours, not eight (abs(11 - 3)). Once you figure this out for a 12-hour clock, then you can use the almost the same expression for a 256-value hue.
closestHue is a straightforward application of hueDistance. Compare the input hue against each of the hues in the palette, and return the best match. Use closestHue to complete addImage by adding the image to the list associated with the hue closest to the image’s average hue. Break ties by choosing the numerically smaller hue.
Finally, you’ll need to write getTile. getTile should look up the list of images associated with the hue in the palette most closely matching the input hue. It should return the “next” image in that list. The idea here is that each time that getTile returns a tile, it should return a different one from the one before. In particular, it will return the next (to the right) element of the list. You could keep a counter, but I suggest you rotate the list left one space (perhaps using Collections.rotate with the appropriate argument) instead.
Et voila
Running the MosaicDriver once you’ve finished should turn this:
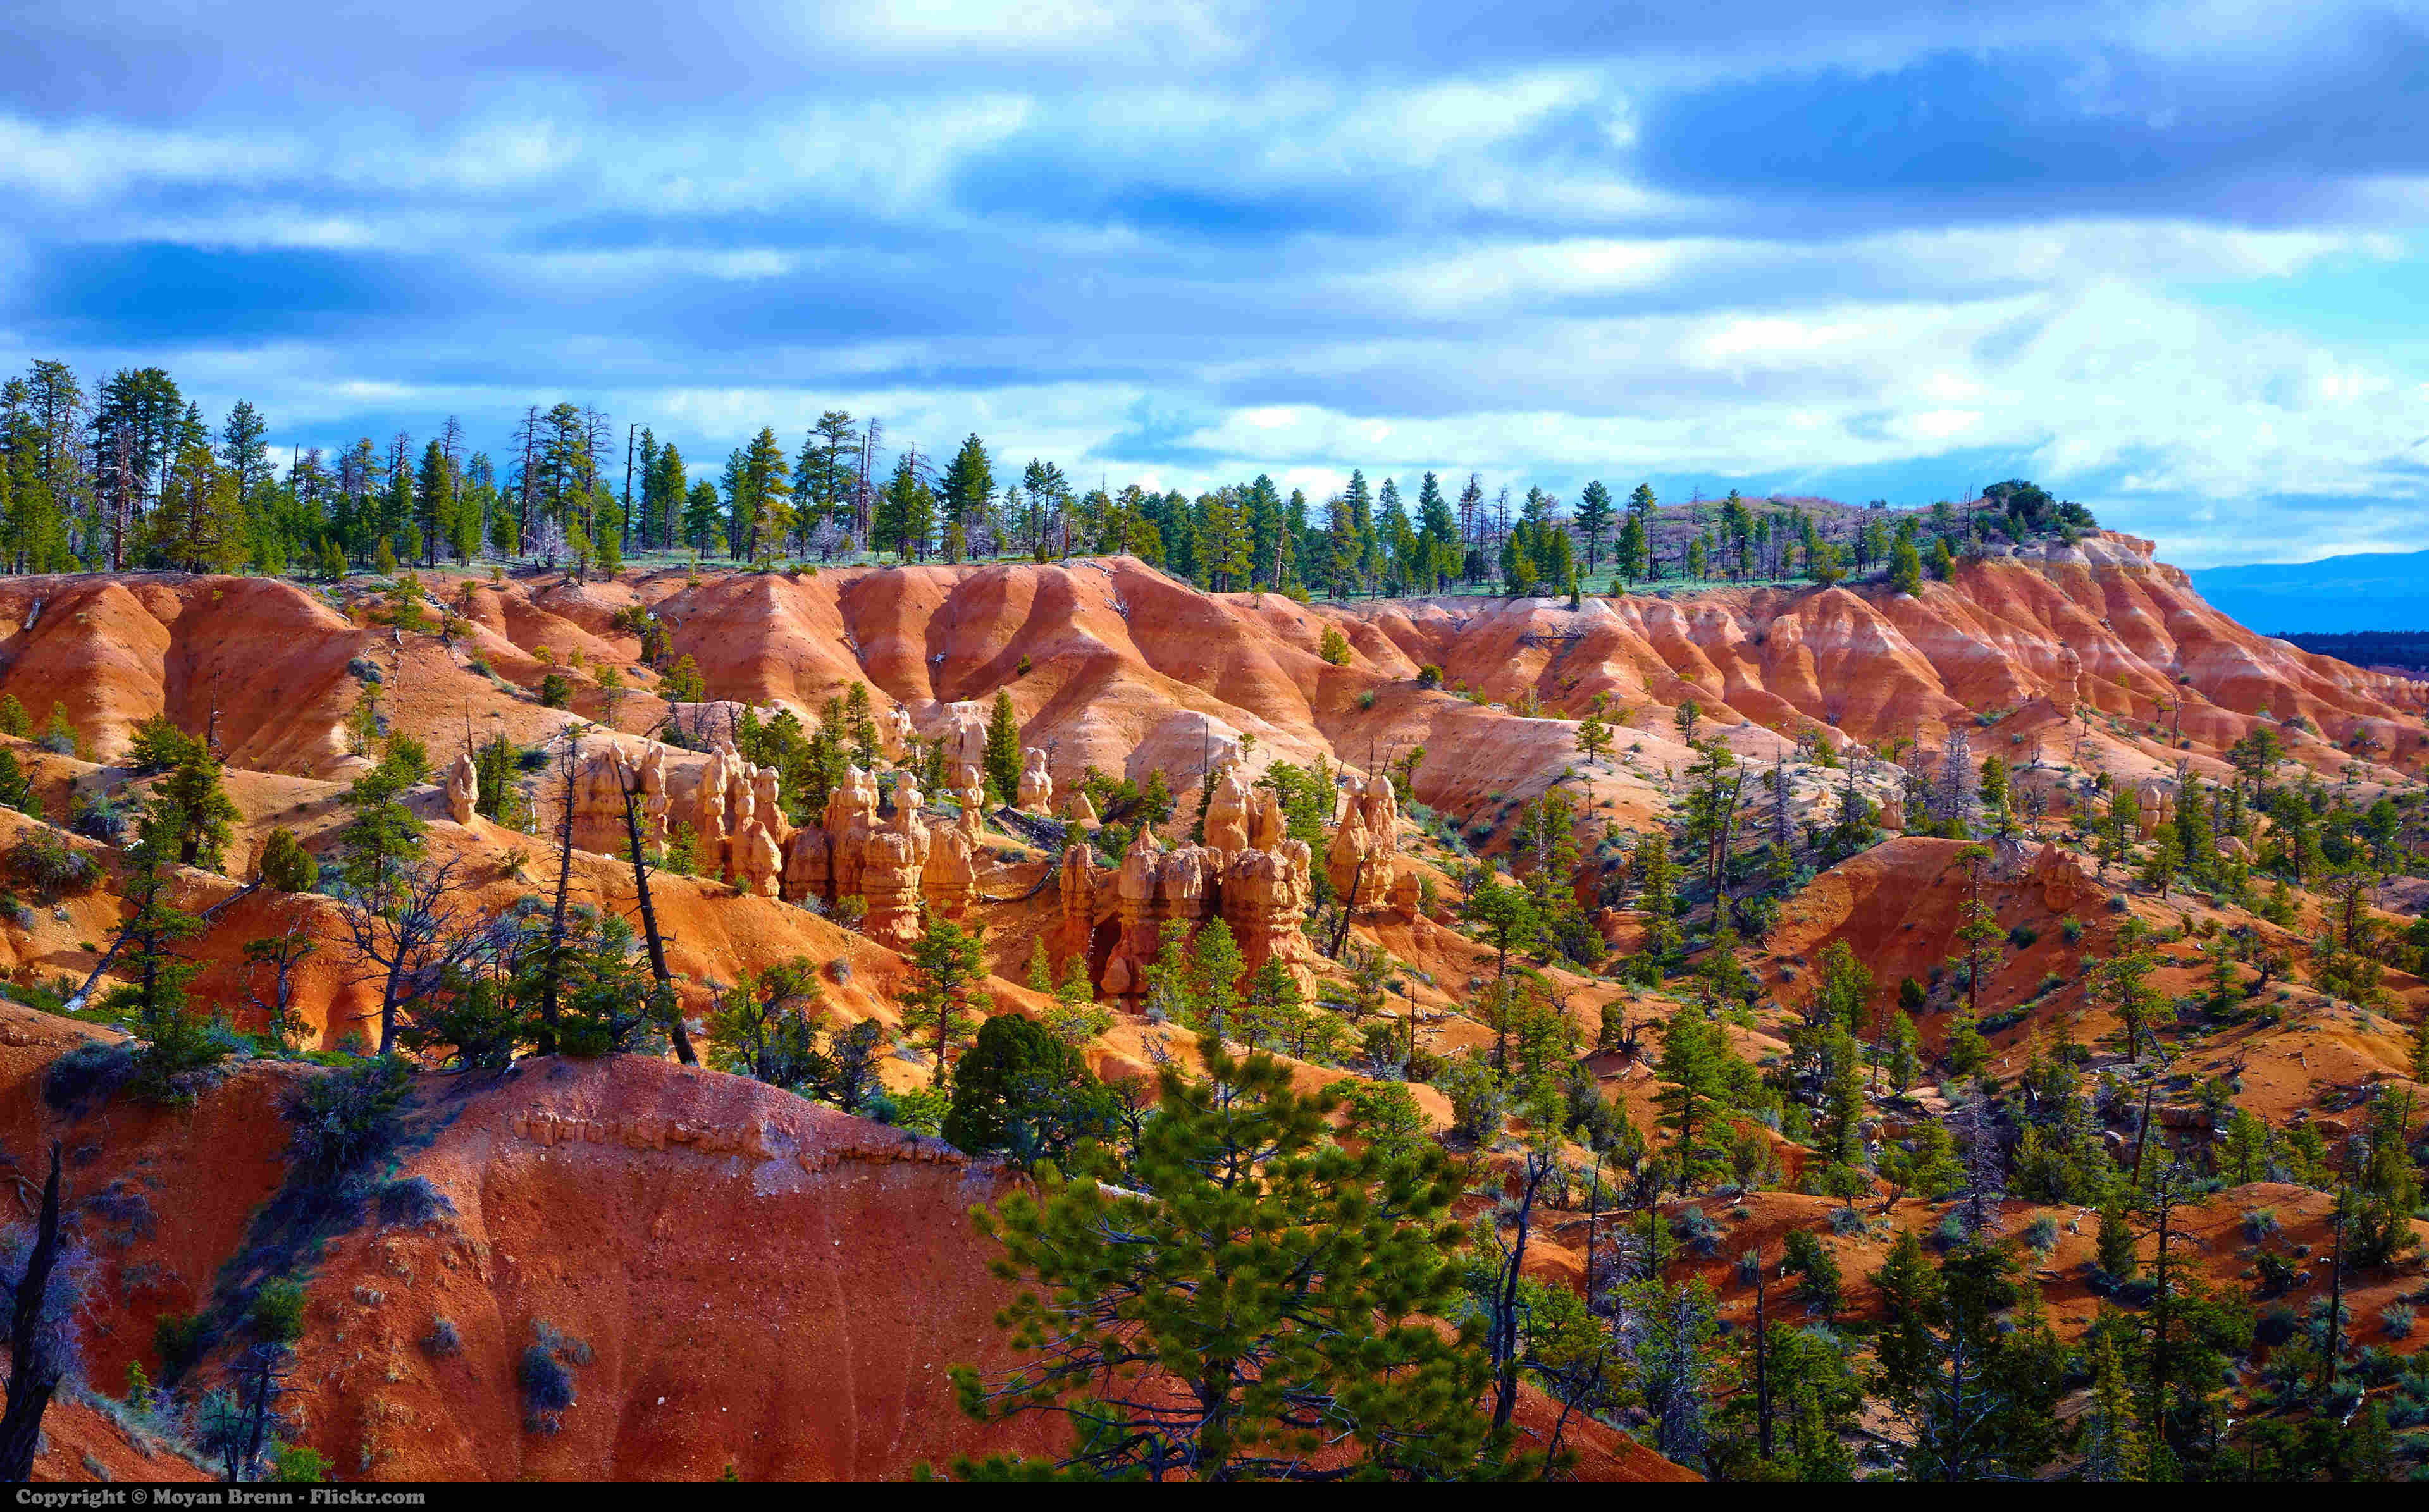
into this:
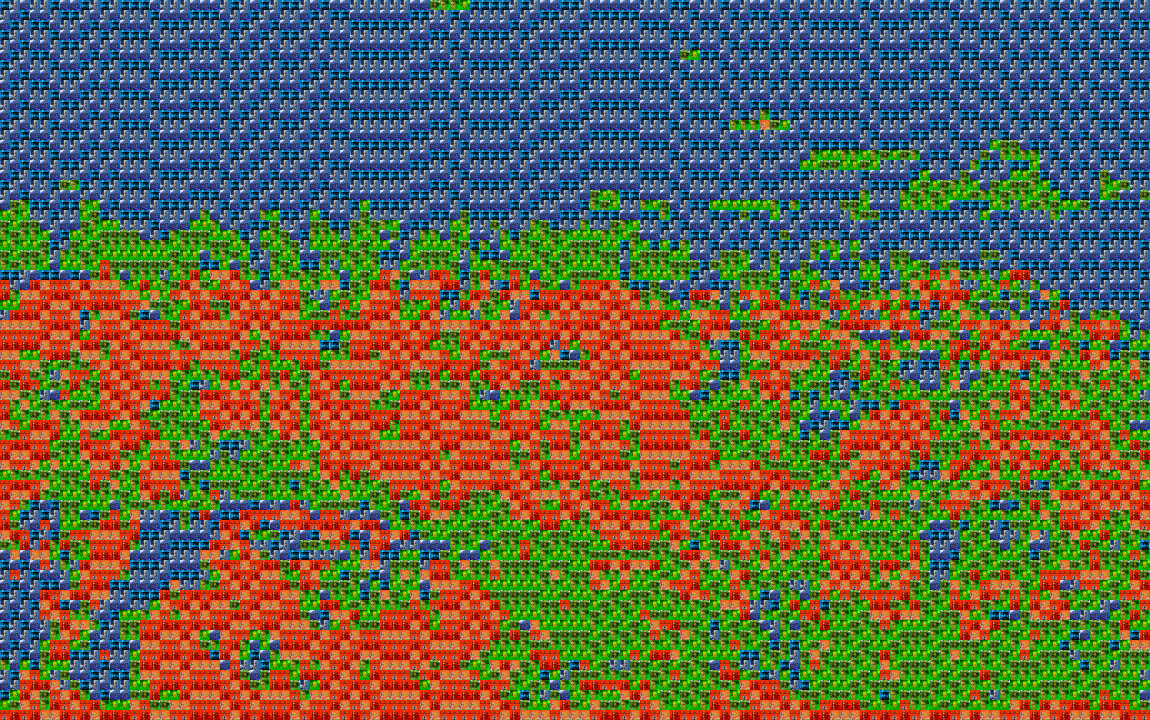
Oh dear. Well, perhaps the world will have to wait for the unveiling of our next masterpiece.
Submitting the assignment
When you have completed the changes to your code, you should export an archive file containing the src/ directory from your Java project. To do this, follow the same steps as from Assignment 01 to produce a .zip file, and upload it to Gradescope.
Remember, you can resubmit the assignment as many times as you want, until the deadline. If it turns out you missed something and your code doesn’t pass 100% of the tests, you can keep working until it does.
Improving the mosaic
There are many, many ways that Mosaic and TileFactory could be improved. First, a (much) larger selection of tiles and of palette hues will allow closer matching. Next, taking into account other aspects of color (saturation and brightness) for better matches will make further improve the output. A more advanced tile matcher will also match areas of color within tiles, and possibly rotate or flip tiles to make the best possible matches. It might also “cheat” by modifying each tile as it is placed, adjusting its hue, saturation, or brightness (“tinting,” etc.) to better match the source image at that location.
All of this is well beyond the scope of this assignment, but might be interesting to do in your spare time if you are so inclined.